

Table of Contents
CICS Commands
If you have already compiled your BMS Macro by running JCL and it has created the physical and symbolic map, following screen shows how to perform other steps needed for a CICS transaction. Below are some of the hands on screen shots to learn CICS basic screens and commands.
- Define CICS MAP in PPT
- Install CICS MAP /Load CICS MAP
- Define CICS Transaction in PPT
- Install CICS TRANS /Load CICS TRANS
- Define VSAM file in FCT
- Define CICS PROGram
- Install CICS PROGram
- Mark new copy of program (CEMT SET PROG)
- Close/Open/Change edit options of file (CEMT I FILE)
- See List of the transaction running
- Kill a task
- Browse TSQ (CEBR)
- Debug transaction (CEDF)
REACH CICS COUNSEL
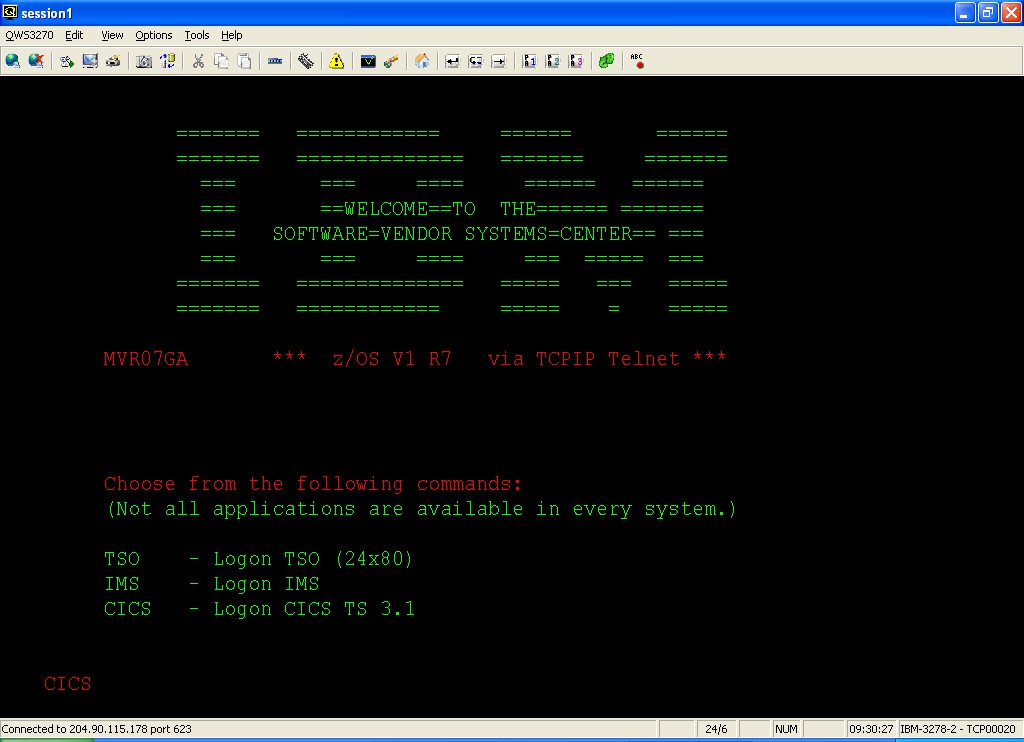
Type CICS and press enter
On reaching this screen press attention key (normally it is mapped to PAUSE BREAK key of keyboard.
DEFINE MAP
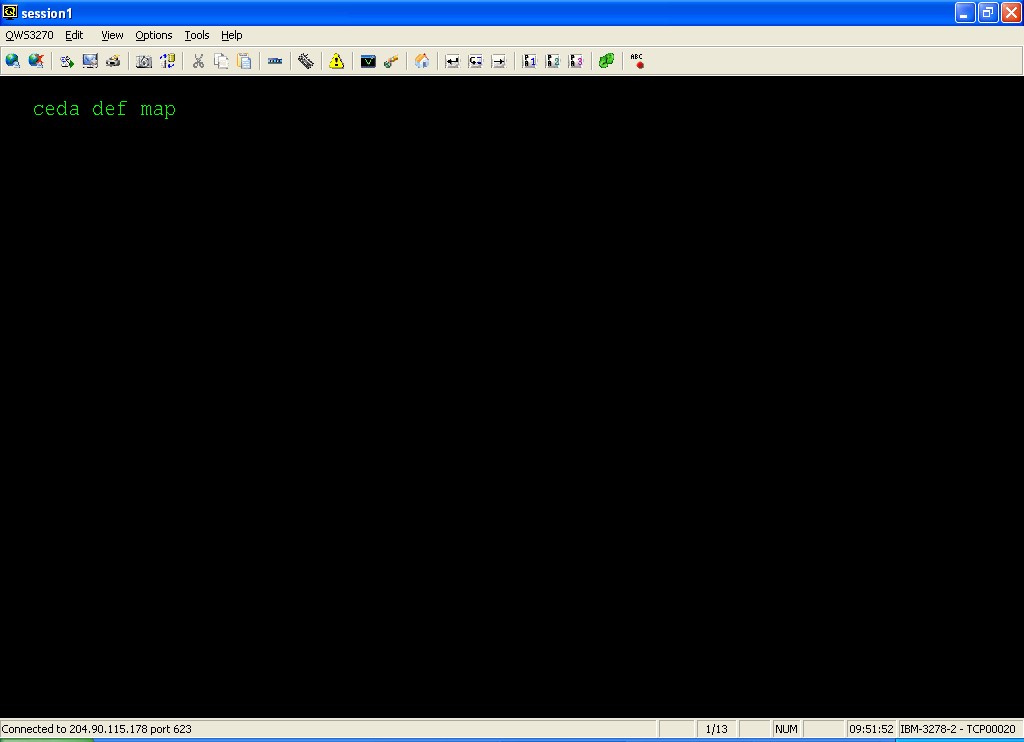
On the next screen write “CEDA DEF MAP” and press enter
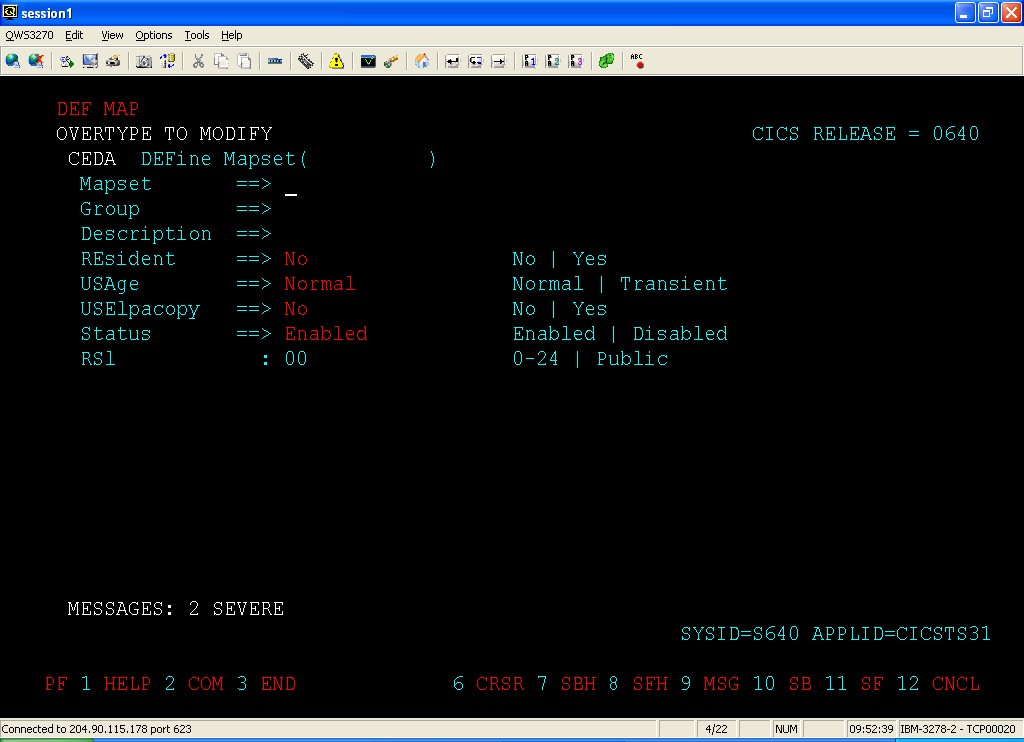
On this screen fill in MAPSET, GROUP field and press ENTER
At bottom of the screen you will get the message “Define Successful”
Press F3 to reach CICS Counsel.
Install MAP

Write “CEDA INS MAP” and press enter

Fill MAPSET and
press F8 twice to go 2 page down.
Fill GROUP field
Press enter
On successful installation you will have “INSTALL SUCCESSFUL” Msg at the bottom of the screen
Press F3 to reach CICS Counsel.
DEFINE TRANSACTION

Write “CEDA DEF TRANS” and press <ENTER>
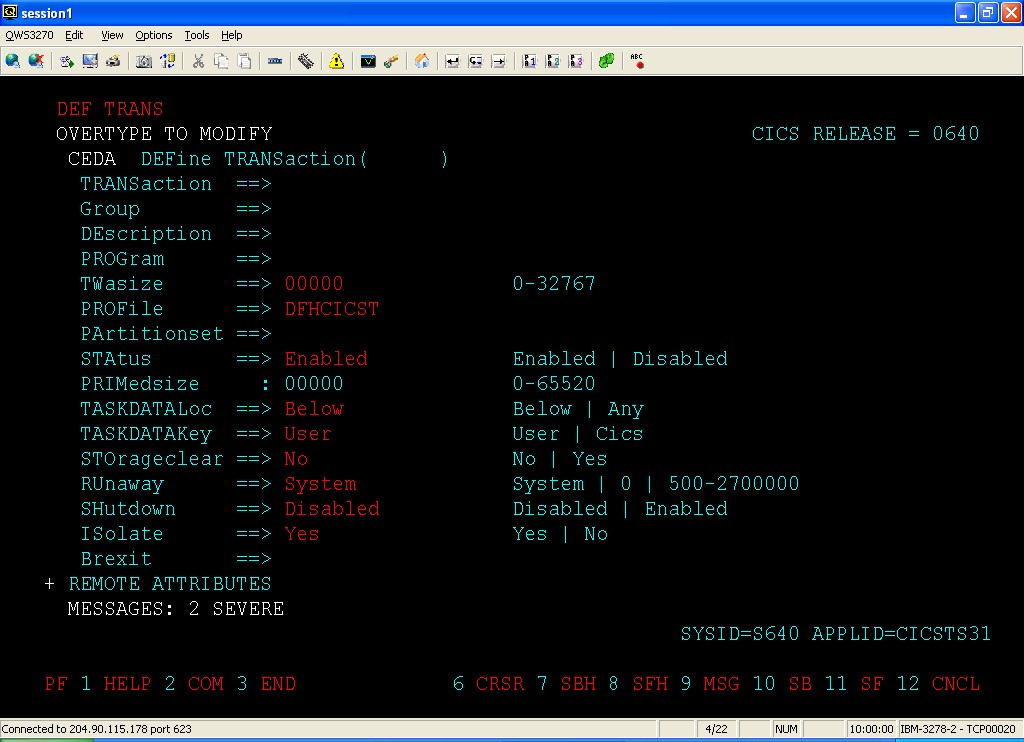
Fill TRANSaction, Group, Program fields and press <ENTER>
At bottom of the screen you will get the message “Define Successful”
Press F3 to reach CICS Counsel.
Install TRANSACTION
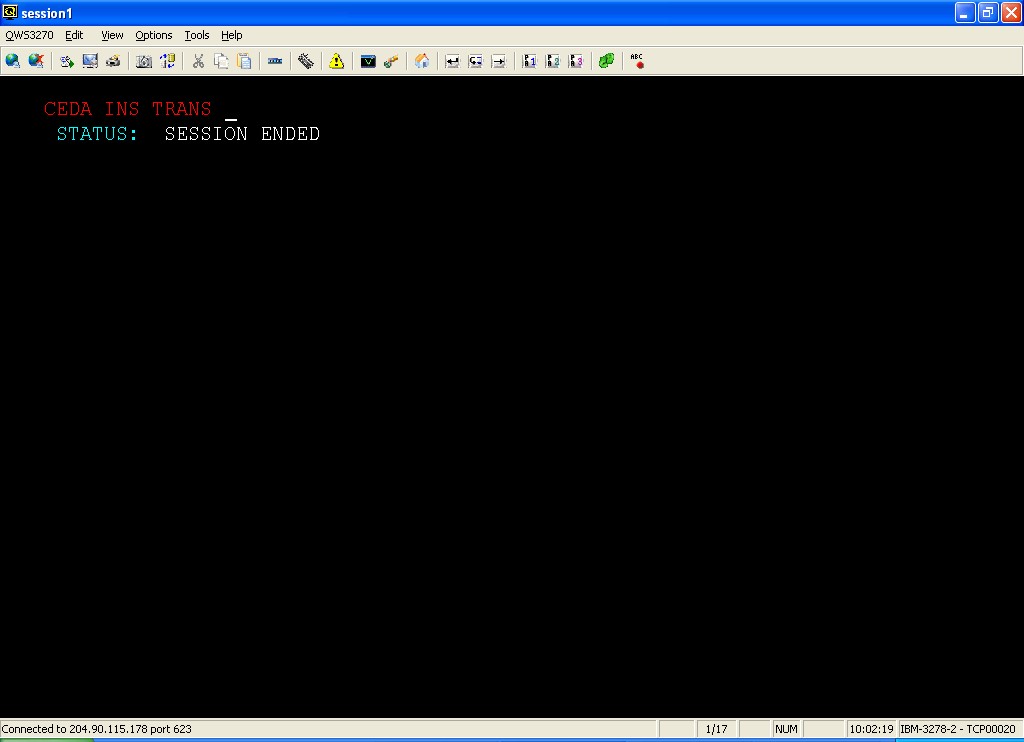
Type “CEDA INS TRANS” and press <ENTER>
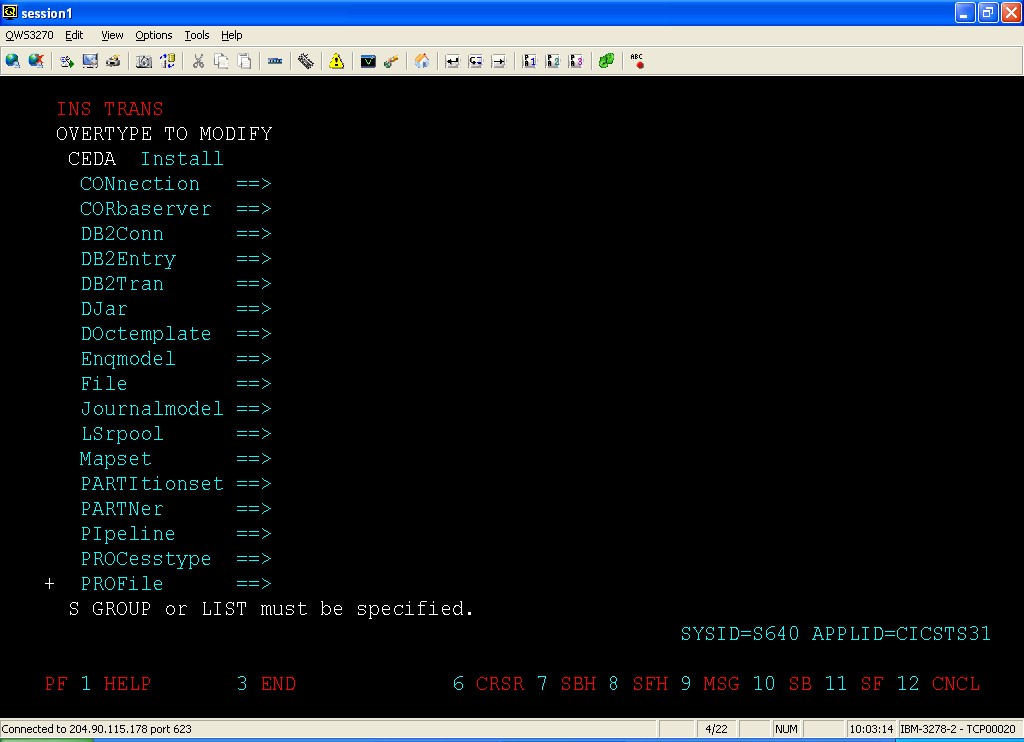
Press F8 to go 1 page down.
Fill Transaction
press F8 twice to go 1 page down.
Fill Group
Press <ENTER>
On successful installation you will have “INSTALL SUCCESSFUL” Msg at the bottom of the screen
Press F3 to reach CICS Counsel.
DEFINE VSAM FILE

Type “CEDA DEF FILE” and Press <ENTER>
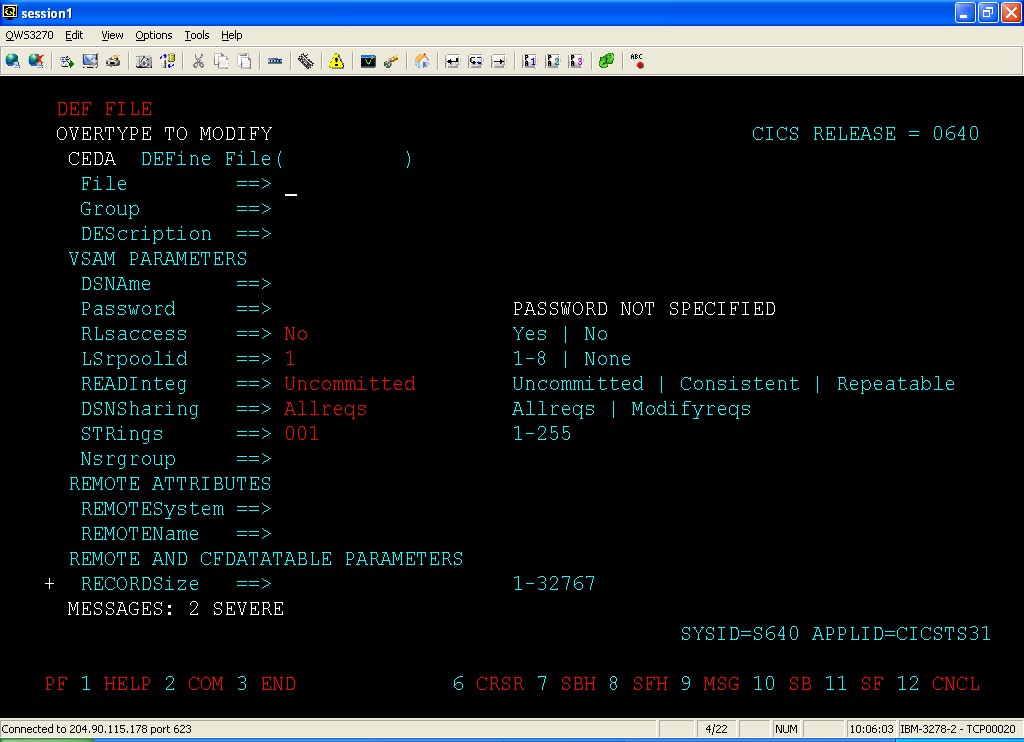
Fill File (Logical file name), Group, DSName (physical file name)
press F8 thrice to go 3 page down
Under operations change file edit options Add/Browse/Delete/Read/Update
Press <ENTER>
At bottom of the screen you will get the message “Define Successful”
Press F3 to reach CICS Counsel.
DEFINE PROGRAM

Type “CEDA DEF PROG” and press <ENTER>
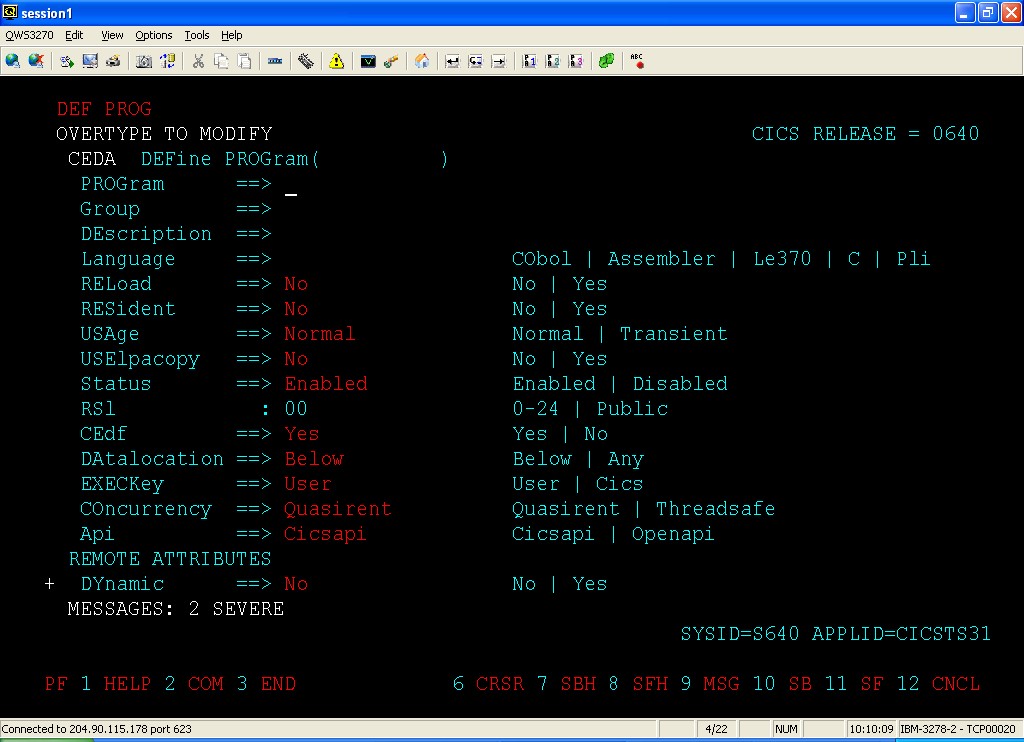
Fill PROGRAM, GROUP, LANGUAGE
Press <ENTER>
At bottom of the screen you will get the message “Define Successful”
Press F3 to reach CICS Counsel.
INSTALL PROG
Type “CEDA INS PROG” and press <ENTER>
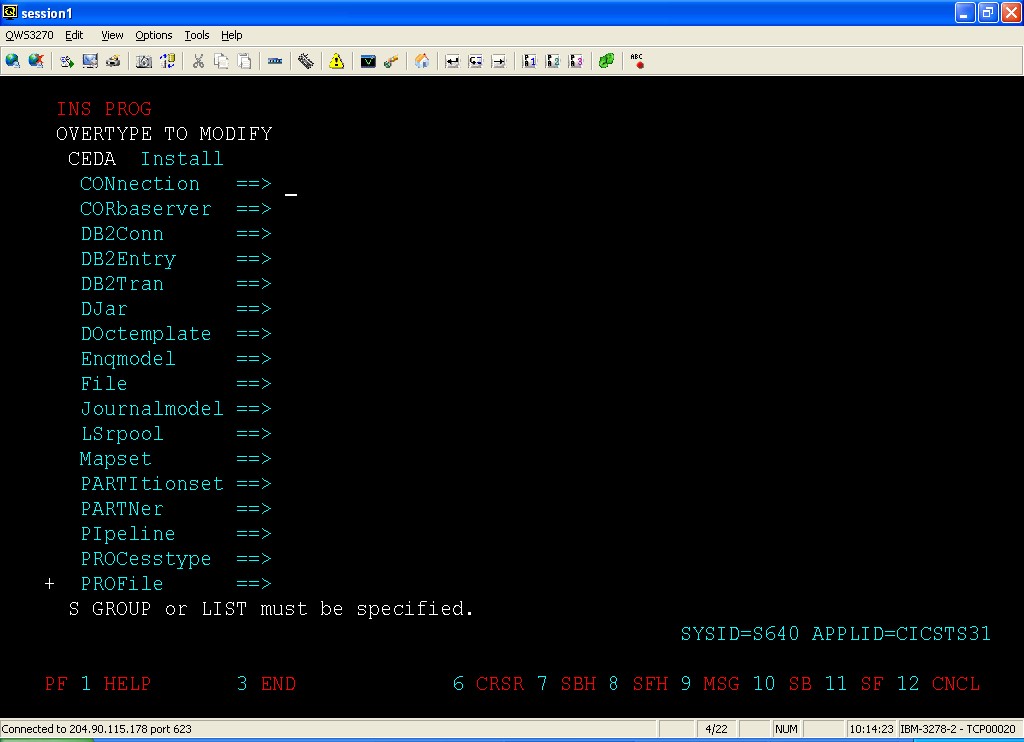
Press F8
Fill PROGRAM
Press F8
Fill GROUP
Press Enter
On successful installation you will have “INSTALL SUCCESSFUL” Msg at the bottom of the screen
Press F3 to return to CICS Screen
MARK NEW COPY TO PROGRAM (required after recompiling)

Type “CEMT SET PROG(PGMNAME) NEW” and press <ENTER>
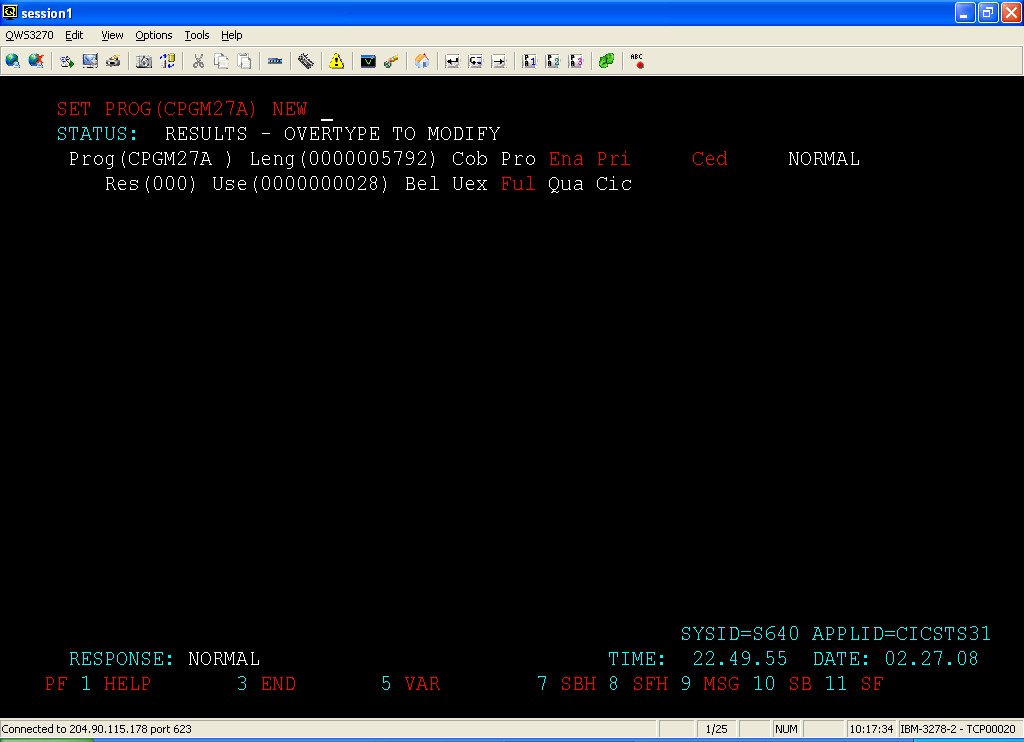
On response at the bottom it will read “NORMAL” on successful operation
CICS FILE CLOSE/OPEN/CHG OPERATION OPTION
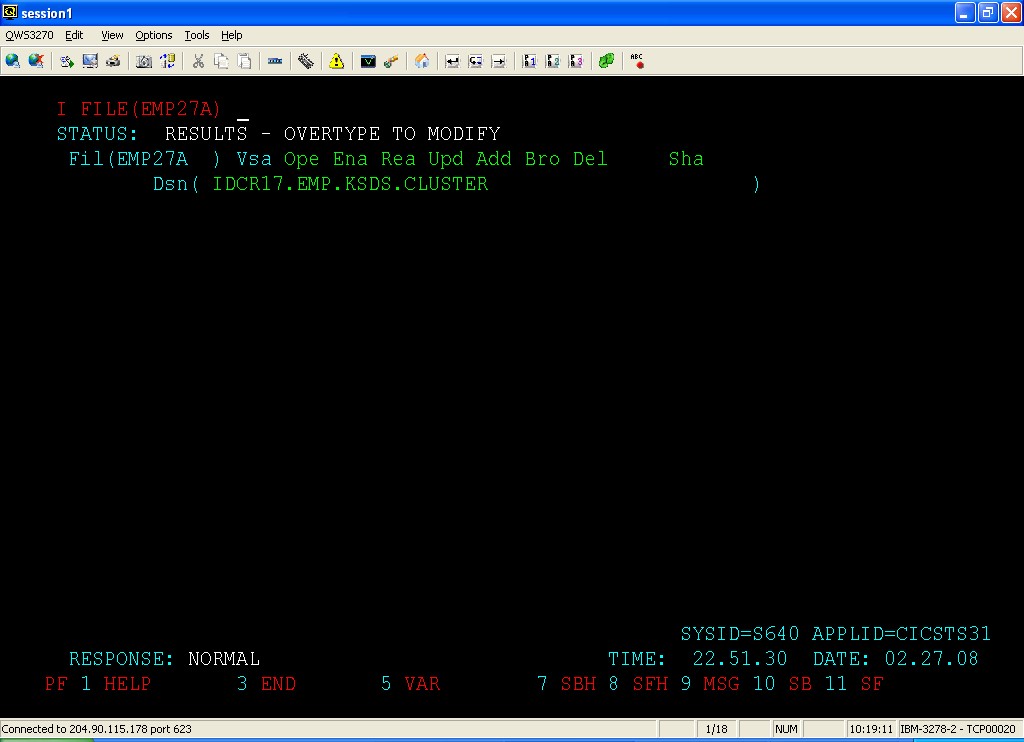
Type “CEMT I FILE(EMP27A)”
Press <ENTER>

Here you can overtype the option you want to change and press enter.
e.g. to close the file Overtype “Ope” with “Clo” and press <Enter>
file will be closed on Response “Normal” will be displayed.
List transactions
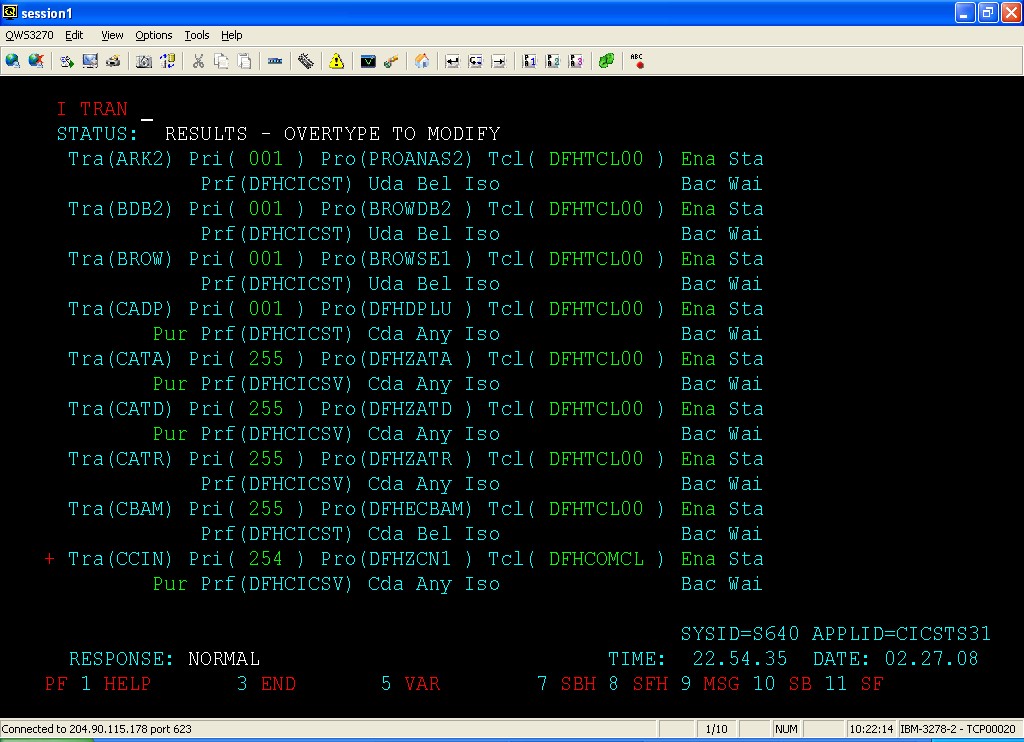
You can filter the result by given transaction initial or name.
e.g. “CEMT I TRANS(C*)” or “CEMT I TRANS(CBAM)” and press enter
Use F8 to go page down and F7 to go page up
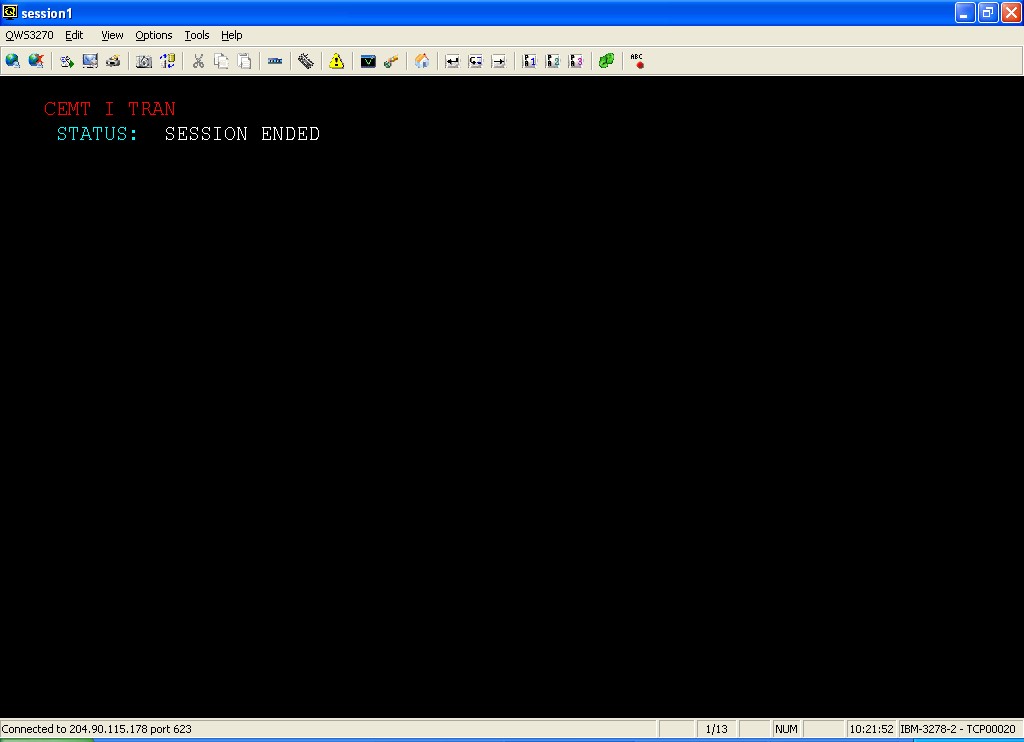
F3 to come out of the screen
KILL TASK

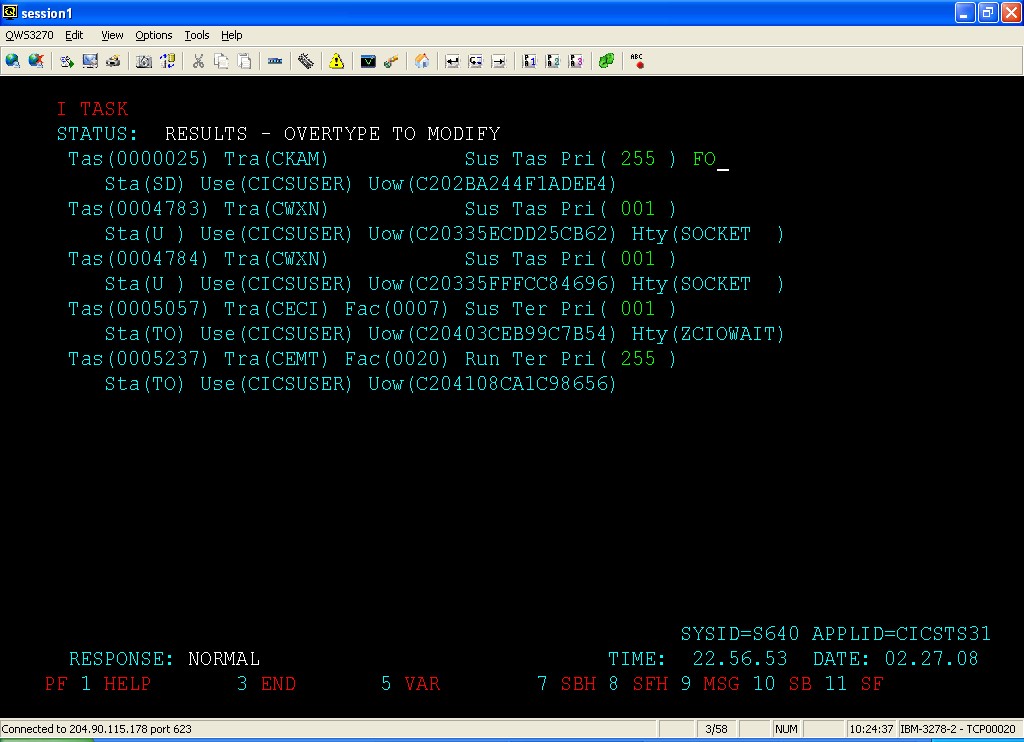
Type “FO” next to the task you want to kill and press <ENTER>
Browse TSQ (CEBR)
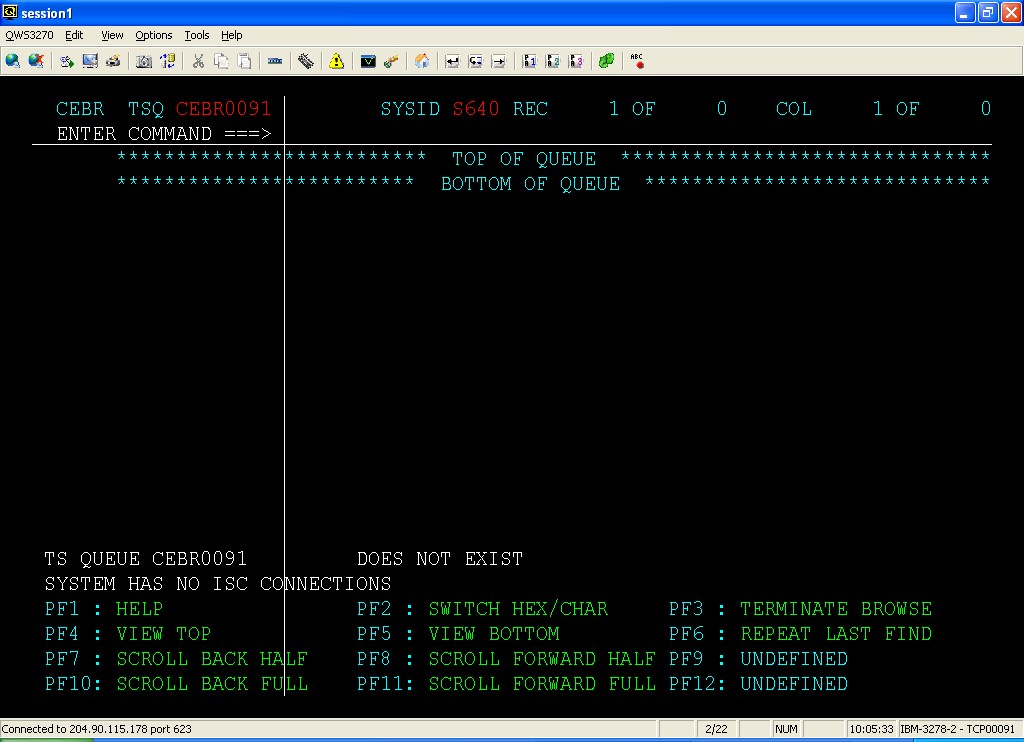
Type CEBR and press <ENTER>
Change the TSQ name by overtyping it and pressing enter. Similarly about SYSID
Debug transaction (CEDF)
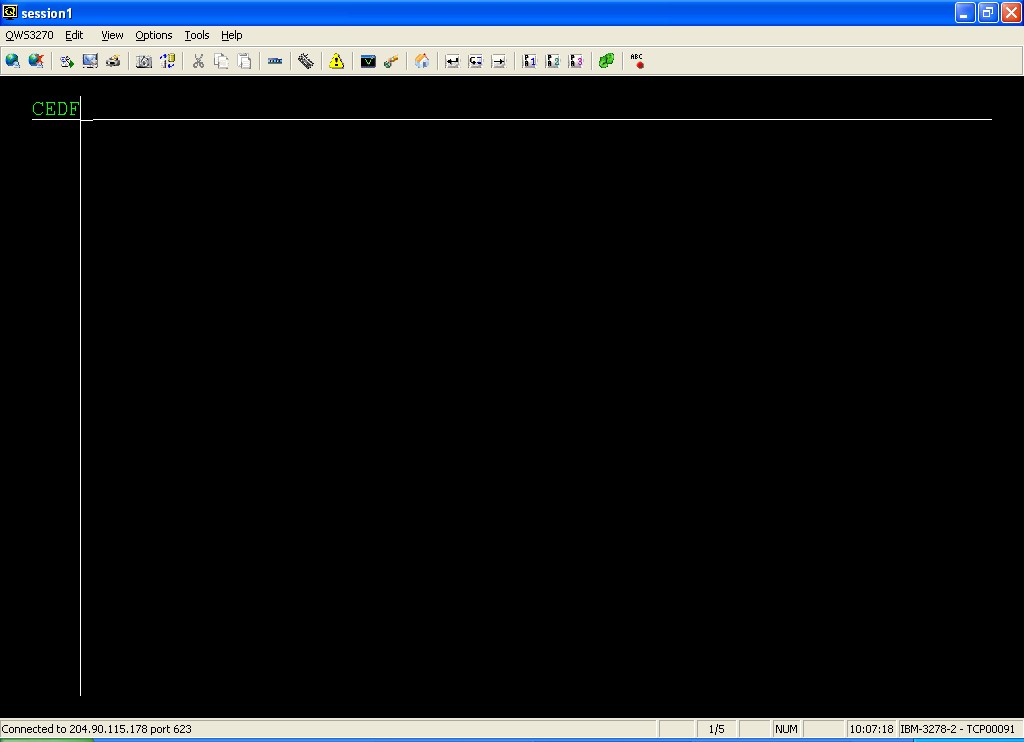
Type CEDF and press <ENTER>

Press Attention key <PAUSE BREAK>
Type the transaction name and press <ENTER>
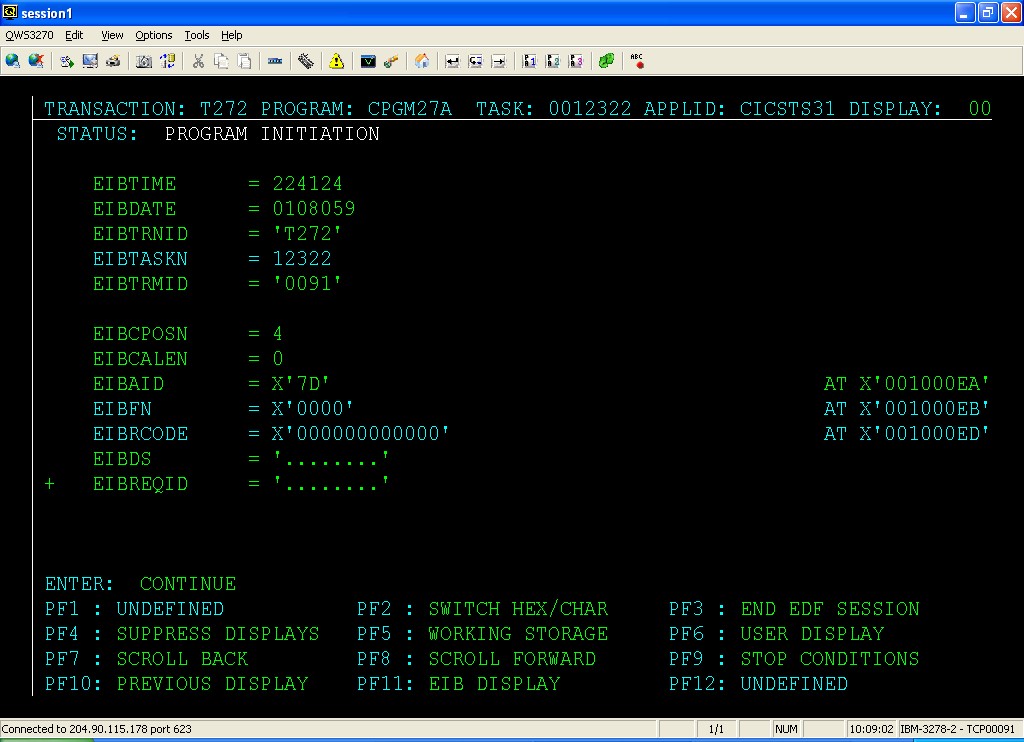
This is CEDF screen, use the option given at the bottom to browse around. It just stops at CICS commands in the program.