
While newer Pixel models boast removable back covers, older Pixels are a different story. Replacing the battery in these models requires careful disassembly and technical know-how. Before diving in, consider the risks:
- Voiding your warranty: Opening your Pixel yourself often voids the warranty. If your phone is still under warranty and experiencing battery issues, contact Google for authorized repair.
- Potential damage: If you’re not comfortable with delicate electronics, improper disassembly can damage your phone beyond repair.
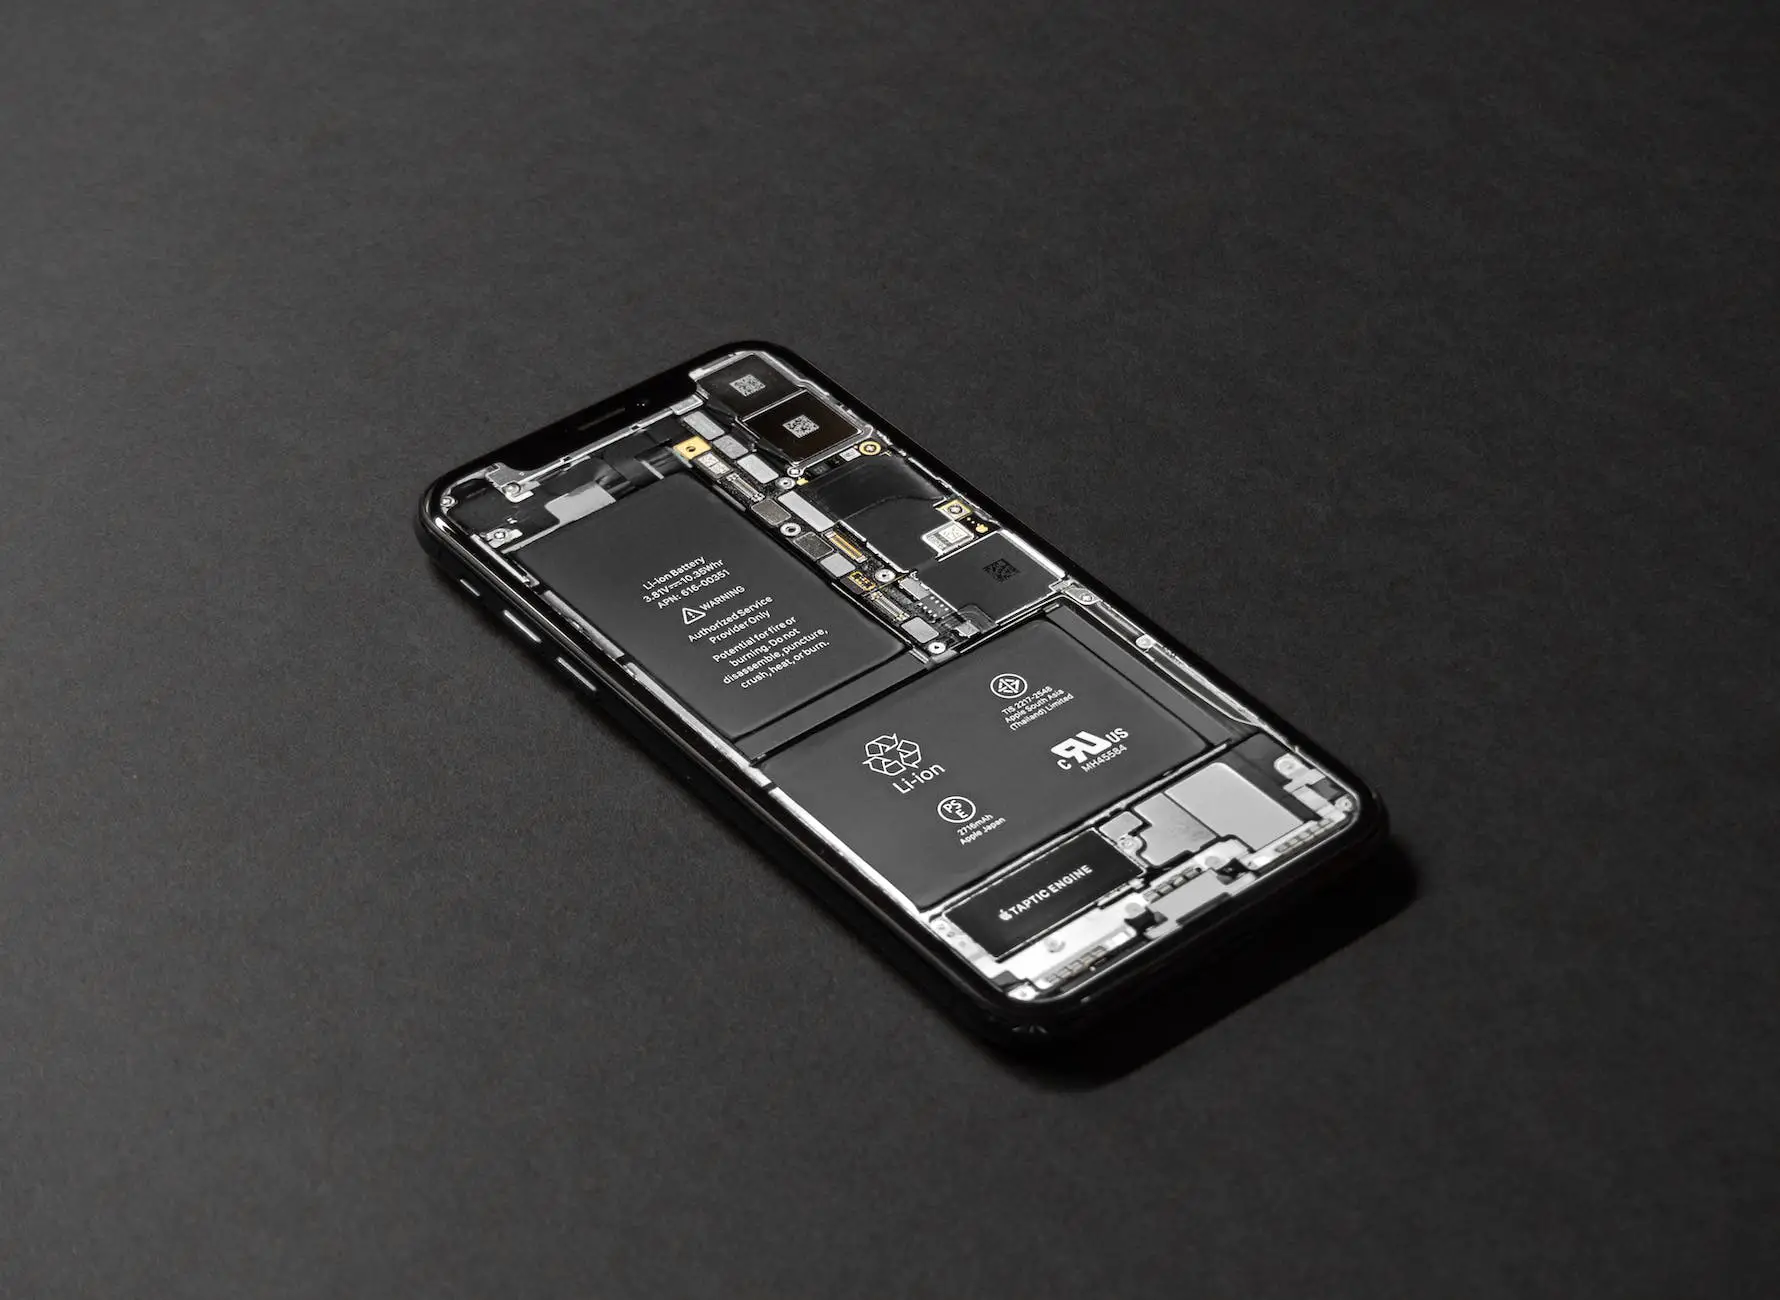
- Safety hazards: Lithium-ion batteries pose potential risks, so handle them with care and avoid puncturing or damaging them.
If you’re confident and understand the risks, here’s a roadmap for replacing your Pixel battery:
Table of Contents – Google Pixel Battery Replacement Guide
1. Gather your tools:
- Replacement battery: Ensure it’s compatible with your specific Pixel model.
- Prying tools: Spudgers or guitar picks work well for opening the phone.
- Heat gun or hair dryer: For loosening adhesive holding the back cover.
- Screwdrivers: Different sizes depending on your Pixel model.
- Tweezers: For handling small components.
- Isopropyl alcohol and cleaning wipes: For cleaning and removing adhesive residue.
2. Prepare your workspace:
- Choose a clean, well-lit, and clutter-free surface.
- Have a container for removed screws and components.
3. Watch a disassembly video:
Find a video specific to your Pixel model for visual guidance. Here are some resources:
- Pixel 2: https://m.youtube.com/watch?v=yKULr67ZZXw
- Pixel 3: https://m.youtube.com/watch?v=BQF-F3fQhsw
- Pixel 4: https://www.youtube.com/watch?v=eQ84Gdm4cLM
4. Power down and back up:
Turn off your phone and back up all your data to the cloud or a computer.
5. Disassemble your Pixel:
Follow the video instructions carefully. This typically involves:
- Applying heat to soften the adhesive holding the back cover.
- Prying open the back cover using your tools.
- Removing internal components like the camera module and speaker cables.
- Unscrewing the battery bracket and carefully disconnecting the battery connector.
6. Replace the battery:
- Gently remove the old battery and replace it with the new one, ensuring proper alignment.
- Reconnect the battery connector and screw the bracket back in place.
- Reassemble your phone in the reverse order, ensuring all components are properly connected.

7. Test and reassemble:
- Power on your phone and check for functionality. If everything works correctly, reattach the back cover and enjoy your newfound battery life!
Additional tips: Google Pixel Battery Replacement Guide
- Take pictures during disassembly to help with reassembly.
- Label cables and components to avoid confusion.
- Don’t force anything; if something feels stuck, apply more heat or consult the video for guidance.
- Dispose of the old battery responsibly at an authorized recycling center.
Remember, this is a complex process, and proceeding with caution is crucial. If you’re unsure about any step, seek help from a professional repair technician.
For those with newer Pixel models with removable back covers, the process is much simpler. Just follow these steps:
- Power down your phone.
- Use a SIM card ejector tool to remove the SIM tray.
- Locate the small notch on the back cover and gently pry it open using a fingernail or prying tool.
- Lift the back cover off and carefully disconnect the battery cable.
- Replace the battery with the new one and reconnect the cable.
- Reattach the back cover and power on your phone.
Replacing your Pixel battery can be a rewarding experience, but it’s important to weigh the risks and proceed with caution. If you’re not comfortable tackling it yourself, don’t hesitate to seek professional help.
I hope this guide provides a helpful overview of the battery replacement process. Good luck!